How to do a "Recursive dimensions" effect in Godot using viewports?
Hello, first of all, you might want to check my game "Catbox", where I use this effect. Here it is shown using a gif:
Pretty cool right? I'll show you how to replicate this effect in Godot (current used version 4.3, but should work on some other versions).
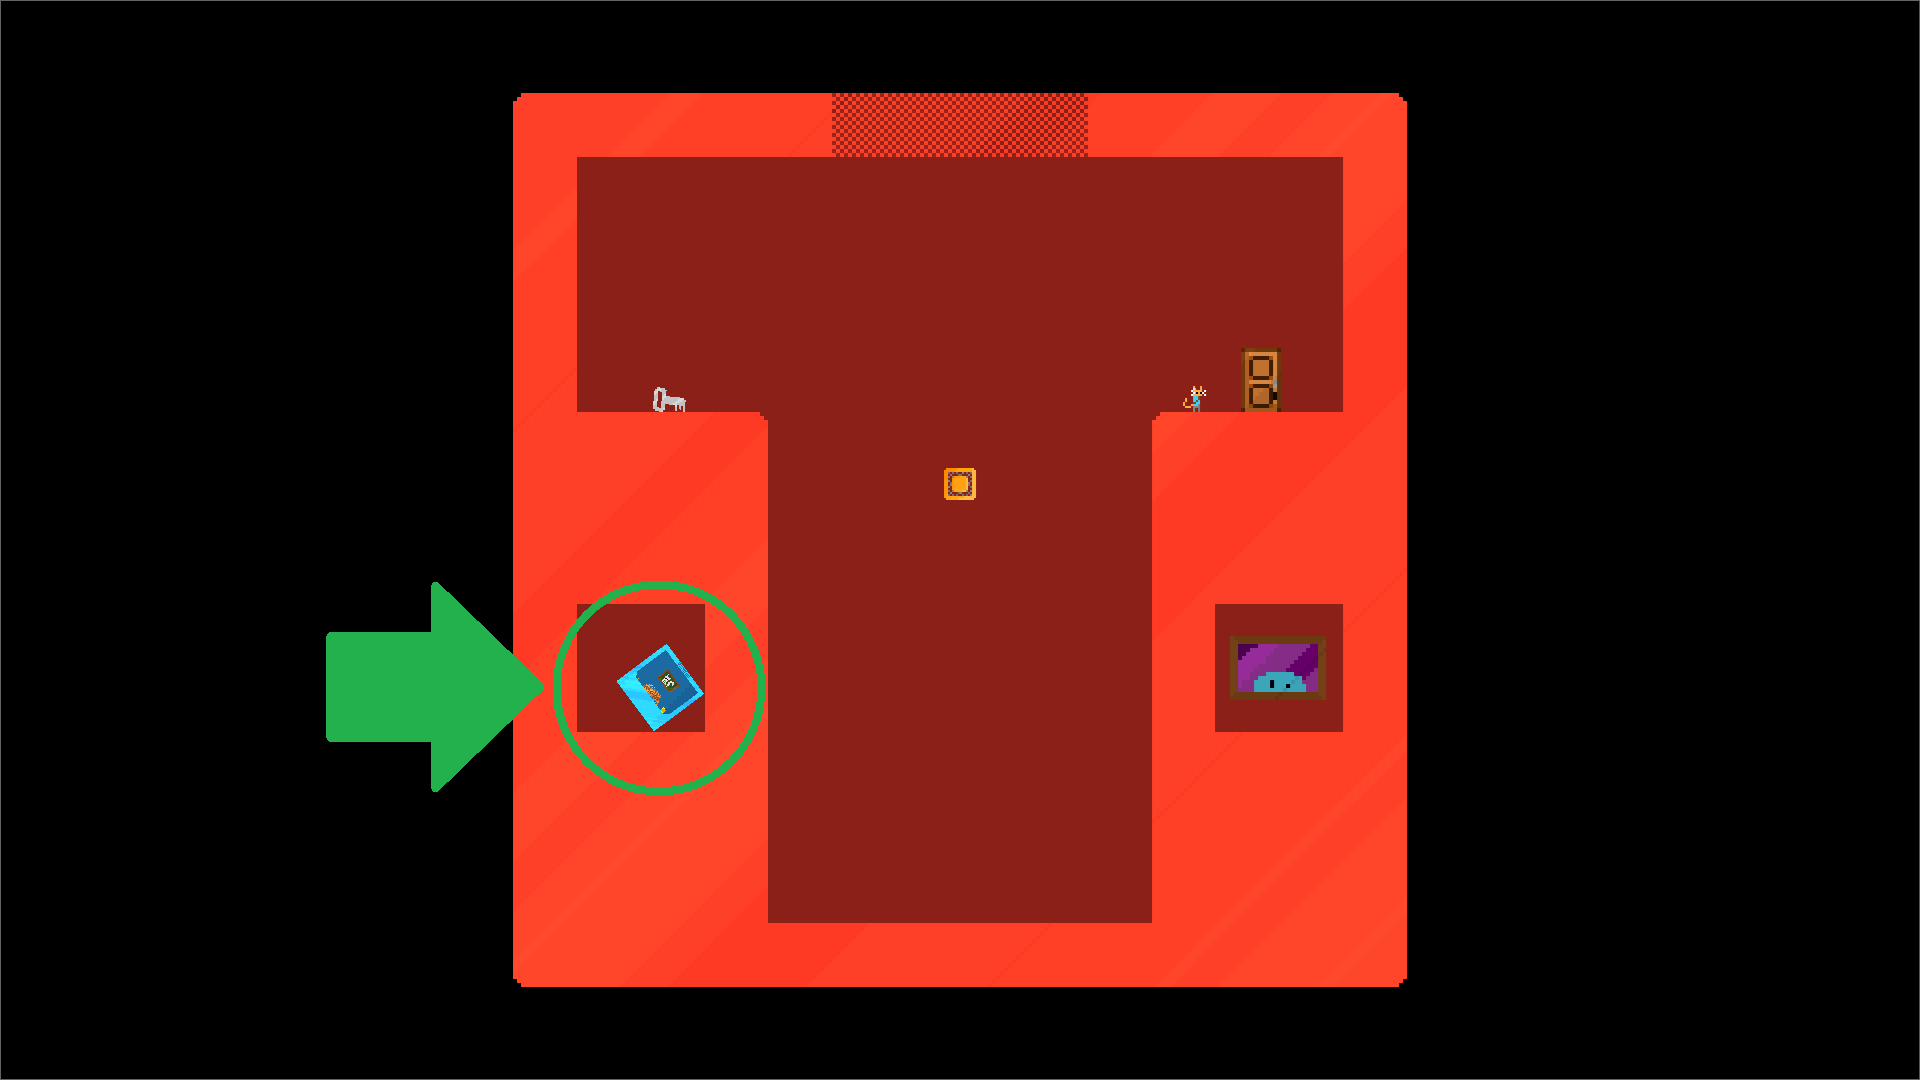
For my tutorial, I'll be using an existing level of my game, don't focus on the level itself, what's important is the tech. Also note that I'm not good at explaining things, so be brave to follow this!
1. Viewports
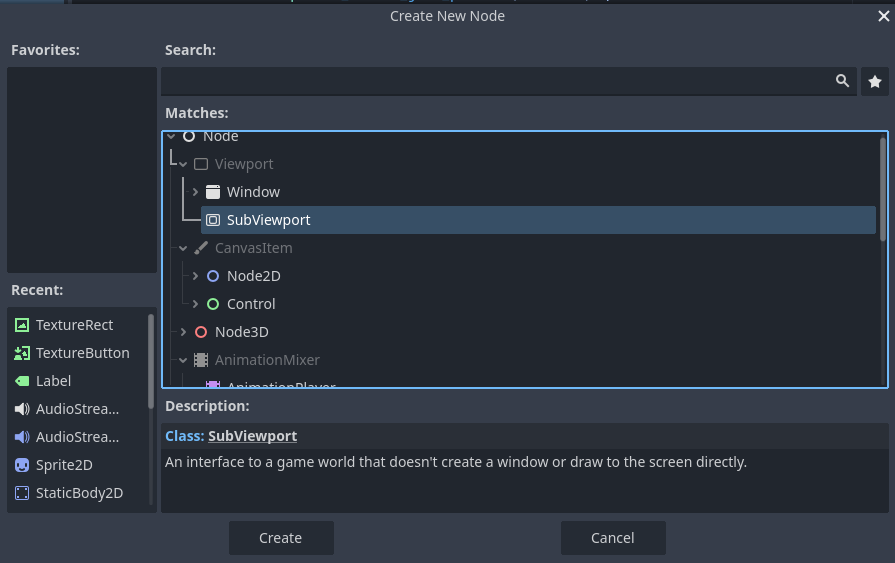
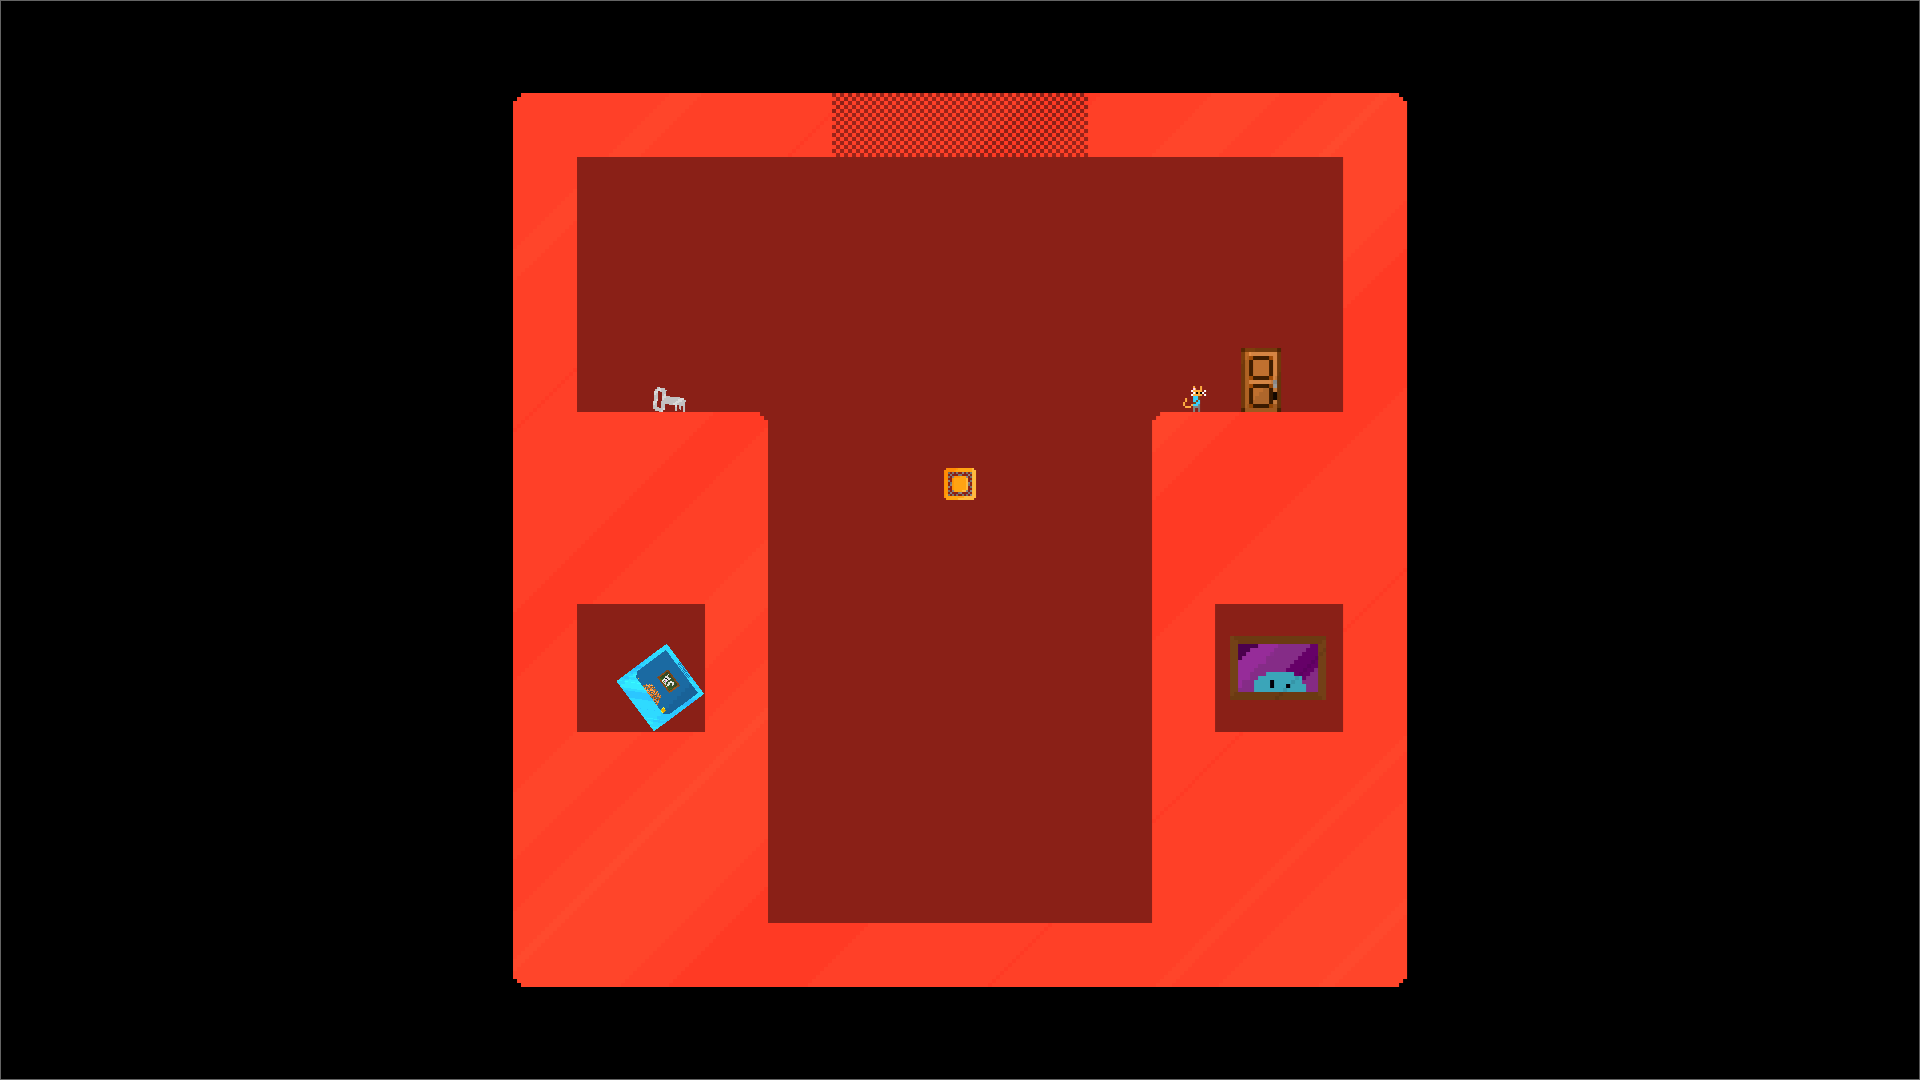
What are (sub)viewports in Godot? Think of them as "worlds" independant from other nodes, everything you have inside a viewport will exists in that viewport alone. Here's an example:
A viewport alone won't show alone, it needs to be displayed in your main game (which is the main viewport by the way, that's why the viewport node is called "subviewport"!)
As a side note, you can also check this official Godot documentation on using Viewports : https://docs.godotengine.org/en/stable/tutorials/rendering/viewports.html
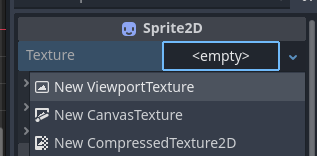
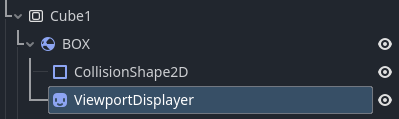
Here's how you could display a viewport, first add a Sprite2D in your scene and change its texture to a "ViewportTexture":
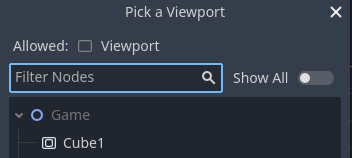
Then you'll be prompted to "Pick a viewport", select your subviewport node you created earlier:
Now you have a sprite that display EVERYTHING that happens inside the subviewport node, think of it as a tv screen showing you what happens somewhere else. You can resize your sprite, change place, add effects on it, it's up to your imagination on how to use this now.
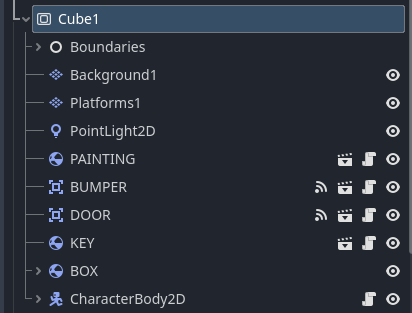
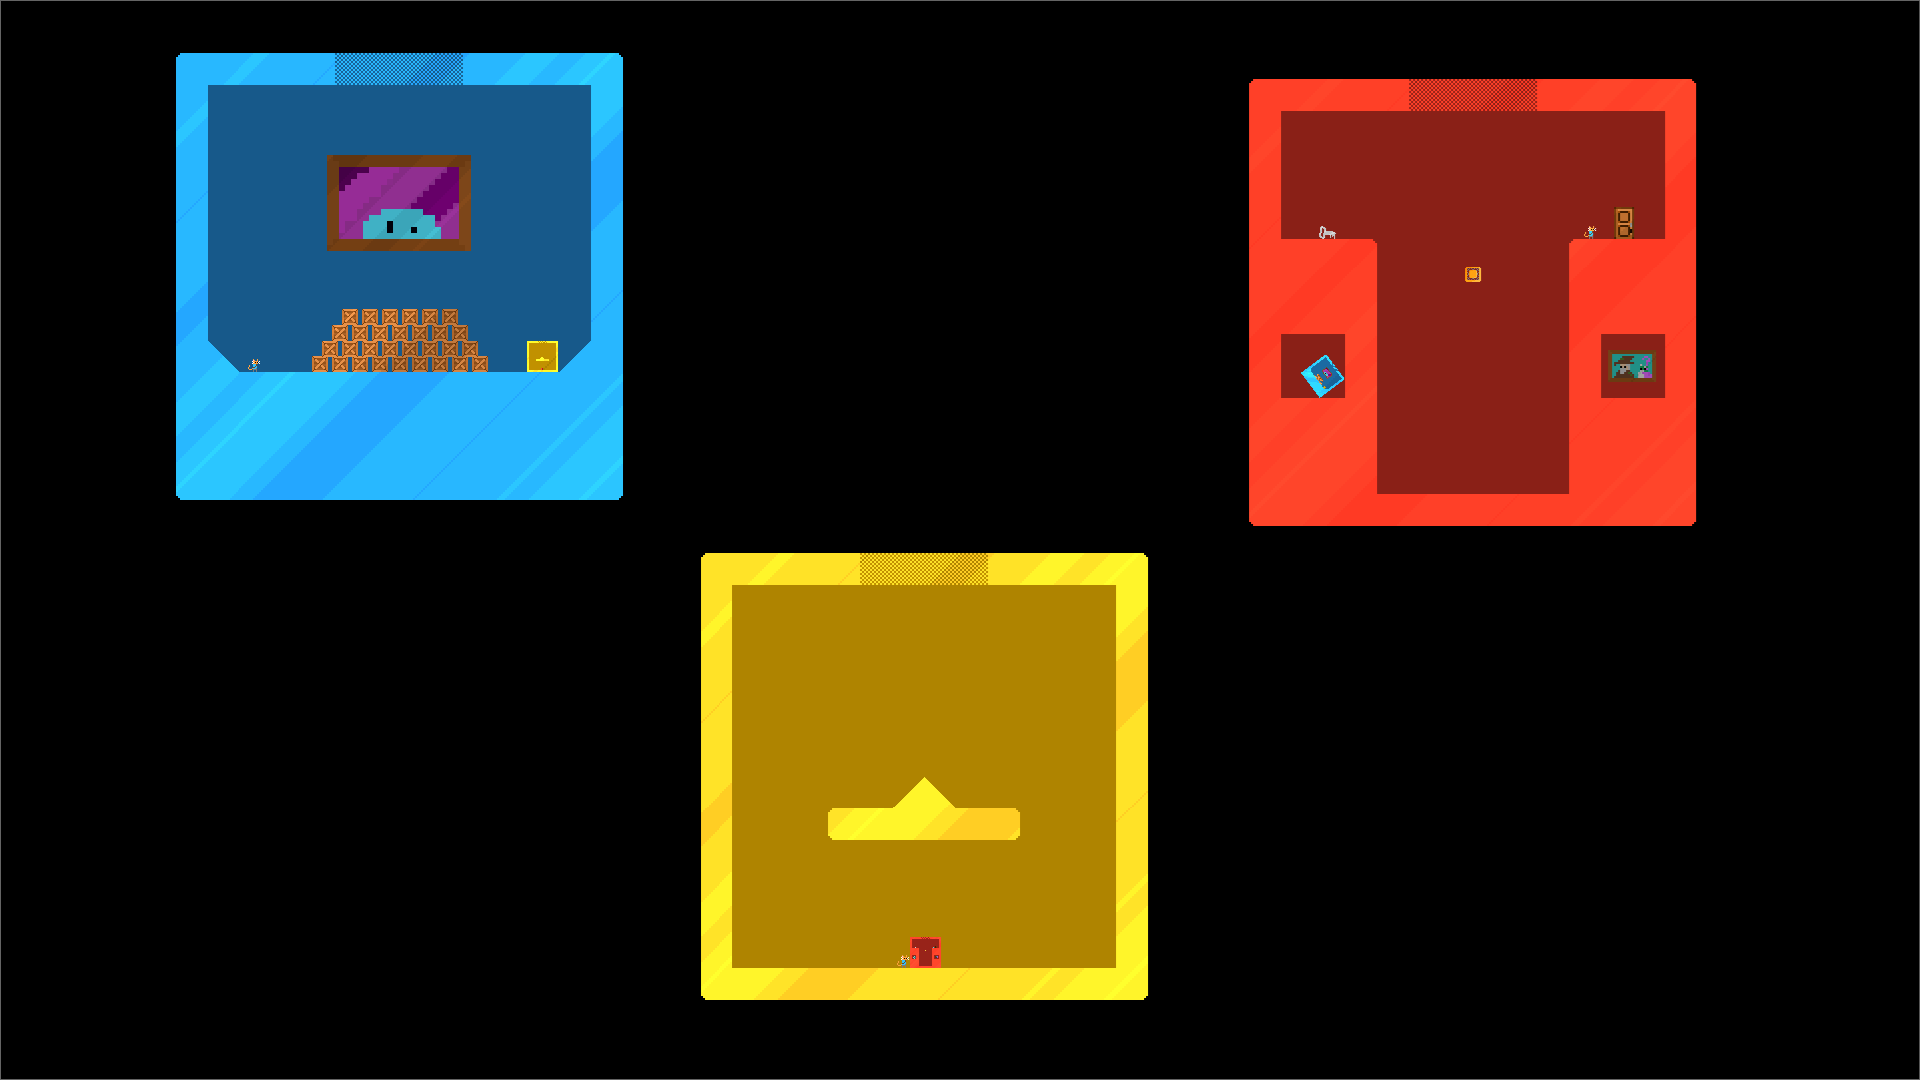
Do you get it? I can now multiply the number of viewports to have as many "dimensions" as I want, here's 3, which is the number I'll be focusing on in this. And here with 3 subviewport nodes with each their nodes, and 3 sprites with ViewportTexture:
You may have noticed, but it's also possible to have a sprite displaying another viewport inside a viewport, see here it's attached to a rigidbody:
That's really easy to set up!
2. The recursive effect
Now it's pretty simple, you have 3 dimensions, you need to setup the 3 dimension-viewer sprites to you have: A main one in the center, a bigger one, an even bigger one (important later for the transition effect):
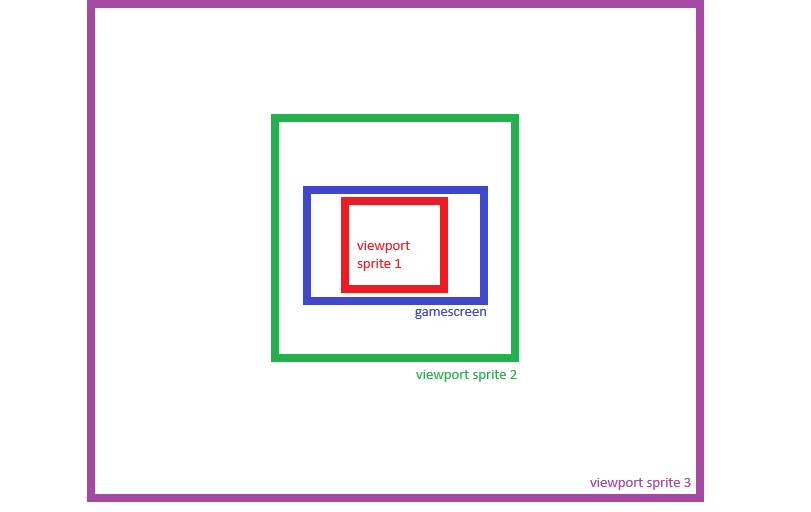
The sprites must be scaled to something like 1 for the one in the center, 14 for the background one and like 140 for the biggest. These number where found by trial and error and depending on your box size, viewports size and all those things, they might change.
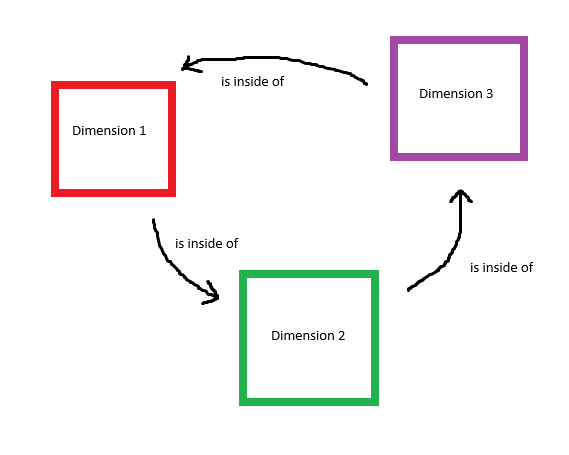
Side note, we'll be naming dimensions 1, 2 and 3 and their logic will be like this:
Now it's time to code! It's important to note that these are general guidelines to show my effect, not an exact tutorial where you copy/paste code and it works, you need to adapt this to your project.
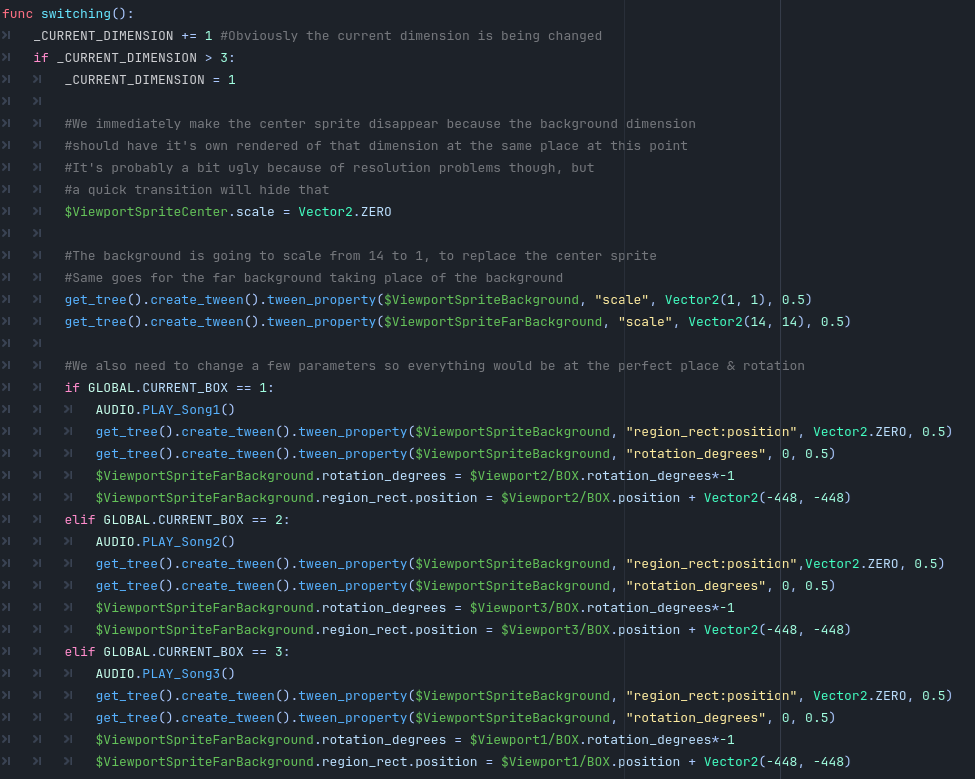
Let's have a "switching" function that happens when you press the button to alternate dimensions. In this function you need to change which sprite display which dimension (viewport), so let's do the simplest version:
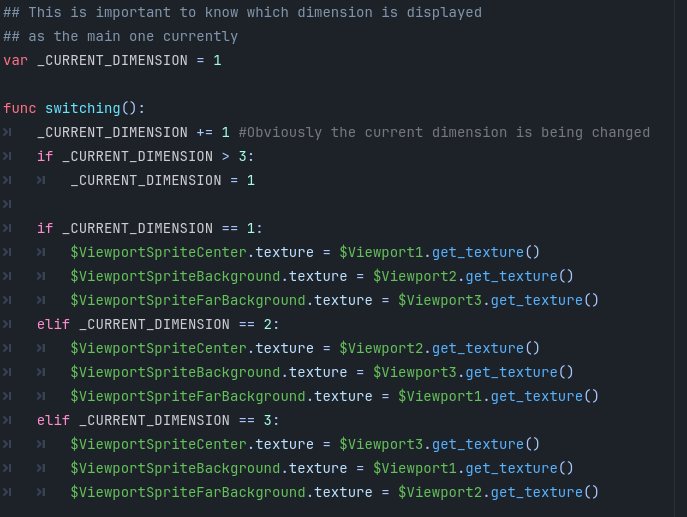
As it is, it only "teleports" between dimensions and not all dimensions are well placed to match the box they're supposed to be in:
To fix the second problem, it's a little bit of parameter matching each frame:
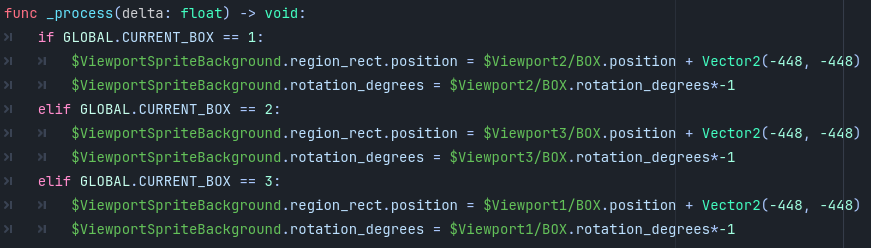
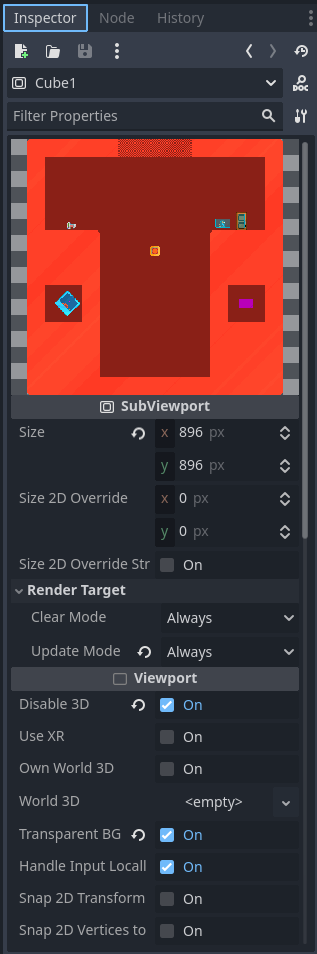
If you are wondering about the "+ Vector2(-448, -448)", it's because I need to handle an offset so it is centered, 448 is half of 896, which is my subviewport node sizes. The rotation is being multiplied by -1 because without that the rotation would be mirrored and not always match the box.
Now if you observe correctly, you'll notice all the boxes are well placed! So now we just need a smooth transition, so let's do some tweening.
And in the tweening callback you want something like we did earlier, but with scaling back the sprites to their original size. Here the switch should be totally seamless, that's the actual magic to do recursivity:

Side note again, you might want a "is_currently_switching" bool variable to stop the _process code from running and getting in the way of the tweening.
And there you have the recursive dimension effect! It's not perfect code, there's some hacks and I rewrote some of the code to be a bit more prettier for this tutorial.
I don't usually write technical stuff, I hope everything is clear enough, you can ask me anything and I'll respond, thanks for reading!
Comments
Log in with itch.io to leave a comment.
Thanks for sharing! It will be incredibly helpful to me.
If you have questions don't hesitate to ask me! It's something I've written very quickly and I assume people have basic Godot knowledge already